Automated Anonymous posting on Facebook using Graph API, Telegram Bot API and Google Apps Script for Google forms
We’ve seen anonymous/confession posting Facebook or Instagram pages right. But this time we’re gonna automate it using some awesome APIs provided by Google, Telegram and Facebook.

Google Forms
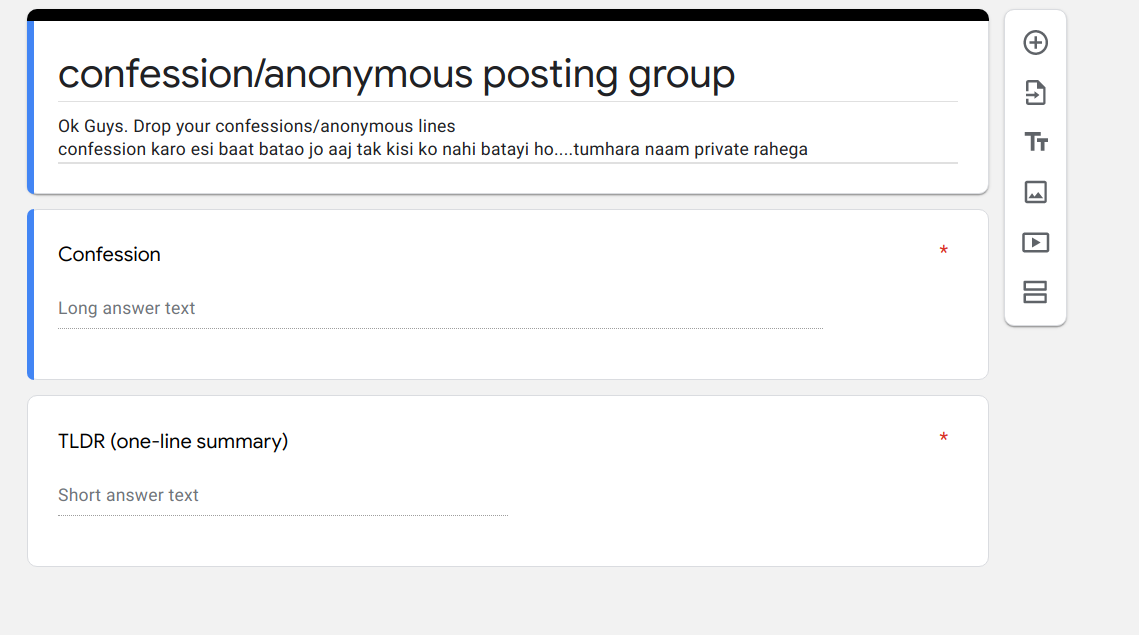
- Firstly we’re gonna create a Google form shown in the image below.
- After that we’re gonna use Google Apps Script simply by clicking on Menu > Script Editor

- After that Paste the following script in the editor.
How to obtain formId
— — — — — — — — — —
Click on edit on google forms and you can see form url.
https://docs.google.com/forms/d/<your-form-id>/edit— — — — — — — — — —
Note: As you can see your-server-ip/domain-name is the endpoint which we will create later in this tutorial.
- After that save the script file and move to Triggers section in Apps Script

- Here in triggers section, click on Add Trigger

- Once you click on Add Trigger you will see a dialog box.
- Here Select the Choose which function to run and select
sendWebHookReq - Now in Select event type choose
On form submit - You can keep rest of the options shown in the image.
- Once done, Click on Save and we’re now done with Google form setup.
Facebook Page
Now, We’re gonna create a Facebook page, Visit facebook and click on + icon, and create a new page.

- Once you created your page, You can open About section of your page and obtain PAGE ID


- Once you open your About page section, scroll to bottom of the page and you can see a Page ID
Note: Page ID will be only visible to the page owner/admin only, So make sure you’re the page owner/admin.
- Save this ID for later use in the tutorial.
Facebook Graph API
Now lets move on to graph api, Visit https://developers.facebook.com/apps
- There, click on Create App
- Select Manage Business Integrations and click on Continute
- Follow the next page steps and Create your app.
- Once done, Goto Facebook Graph API Explorer
- Below in Permissions, Choose the following:
publish_to_groups
pages_manage_metadata
pages_manage_post
Choose your App from right sidebar and on User or Page Choose Get Page Access Token

Now Authorize your profile and you will see an access token visible in the top input bar.
Extending Access Token (Long Lived Token)
- After authorization, Choose your page from User and Page dropdown

- After selecting your page, You will see the page token got updated.
- Now click on the i Button beside Access Token and click on Open in Access Token Tool


- Here, click on Extend Access Token
- After that, A new token will appear with a green text.
- That is your long lived access token, The token will expire after 2 months from present.
Telegram Bot API
Now open your telegram and search for @BotFather
There, create your bot using /newbot command.
Once you’re done. You will obtain a Bot Token which will look like this 1234:xxxx | 1234 = bot number, xxxx = bot hash key
Alright, Now we have following things in our cup.
- Google Apps Script WebHook method
- Facebook Page ID
- Facebook Page Access Token (Long-Lived)
- Telegram Bot Token
Now let’s make a Server to handle all these incoming process.
Node.js Server
Note: I believe you’re familiar with creating Node.js apps. I’ll roughly guide you with this. Make sure you’re having MongoDB and Node.js Installed in your machine.
- Initialize your project with
npm init - Install express, telegraf, mongoose and axios using
npm install express telegraf axios - Start your mongodb service
- Create app.js and paste the following code. This will handle the incoming request from Google Apps Script onFormSubmit trigger.
app.js
In the same folder create a bot.js file where we will handle our telegram requests
bot.js
Note: You can obtain chat_id by messaging to rosebot or any other bot which provides you id
Now we will create another file to handle Facebook posts
page.js
We’re almost done with our automation setup we just need to create model to store information in MongoDB.
For that, We will create a model in models/confession.js
confession.js
Now we’re done. Lets create a start script in package.json by adding in scripts obj,
in package.json
"scripts": {
  "start": "node app.js",
}
Once we are done, Deploy this to your desired cloud server. And make sure you’re having the same URL as we used in Google Apps Script.
The final thing is testing.
- Open your google form submission
- Submit it, as soon as you will submit, The bot will message you for an approval request.
- Once you approve , You can see your post on your page, Tadaaa!
